Baby Birds in a Nest
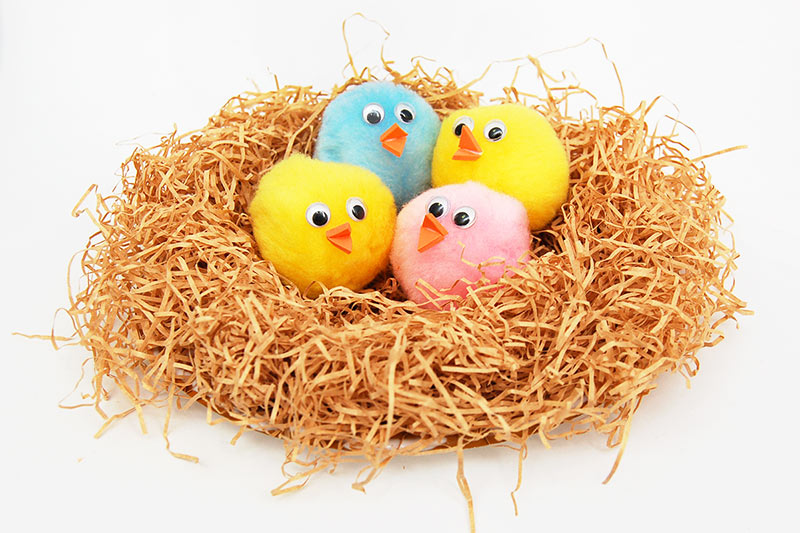
Welcome spring by crafting your own nest of fluffy pompom baby birds.
Featured Crafts
Supplies Needed
- Paper plate or paper bowl
- Brown tempera or poster paint
- Large pompoms
- Wiggle eyes
- Orange craft foam, felt or paper
- White glue
- Scissors
- Paint brush
- Use any of these as nesting material: paper shreds, brown crepe paper, raffia, natural materials (e.g. hay, small twigs, dried leaves)
STEPS
4Create a beak.
Make a beak by cutting out 1 or 2 small triangles out of orange craft foam, felt, or construction paper. There are two 2 ways to attach the beak:
- One triangle - glue one triangle flat onto the pompom (great option for younger kids).
- Two triangles - glue the base of each triangle at an angle (as shown in photo) to create a three-dimensional beak.
Topics:
