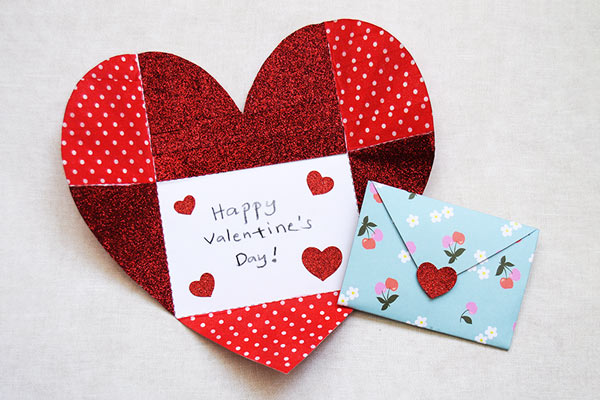
Supplies Needed
- A4 or Letter size cardstock or 9" x 12" construction paper
- Scissors
- Glue
- Markers or colored pencils
- Things to decorate your greeting card with: crayons, sequins, stickers, ribbons, lace, small paper shapes, stamps, glitter glue, etc.
STEPS
Method 1 : Making a Heart Greeting Card Without a Template
1Mark the paper's midpoint.
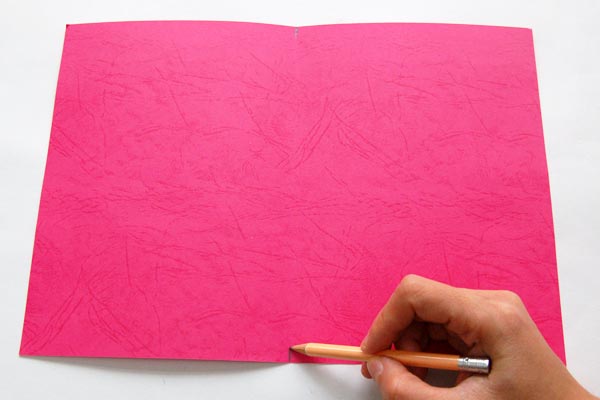
Start out with a sheet of A4 or Letter size cardstock or 9" x 12" construction paper. Mark the middle of the paper's long side with a light pencil mark.
2Fold the right towards the middle.
Fold the right side of the paper towards the middle.
3Fold the left towards the middle.
Similarly fold the left side towards the middle. The paper now has a pair of front flaps that can be opened and closed.
4Draw a heart.
With the flaps closed, draw a heart starting from the middle and extending all the way to the right and left folded edges of the paper. To ensure that the front and back of your greeting card are connected after cutting, the corners of the heart should go over the edges of the paper.
5Cut out the heart.
While keeping the flaps closed, cut out the paper along the heart outline.
6Decorate the front.
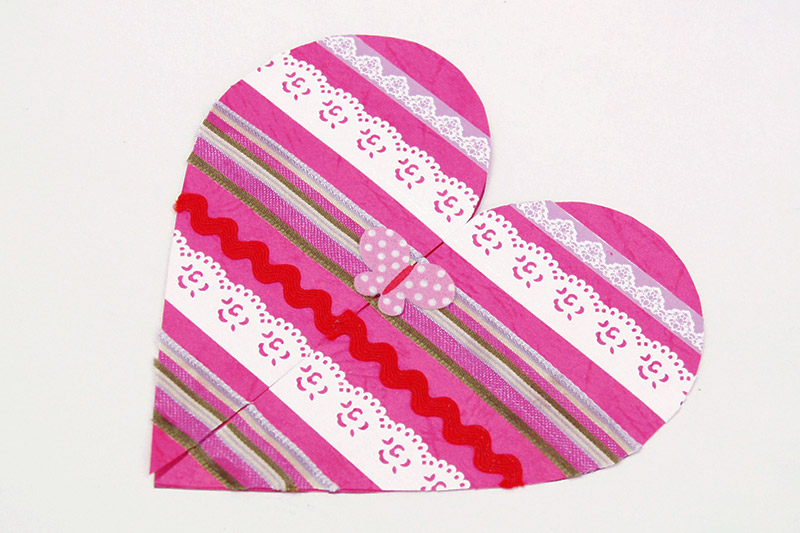
Decorate the front of your greeting card by drawing, coloring, or painting designs on it. You can also use glitter glue or puffy paint to make dots, lines, and patterns.
Another option is to glue a variety of materials such as sequins, ribbons, lace, paper or foam shapes, small buttons, or any other decorative materials that you already have.
7Write a greeting.
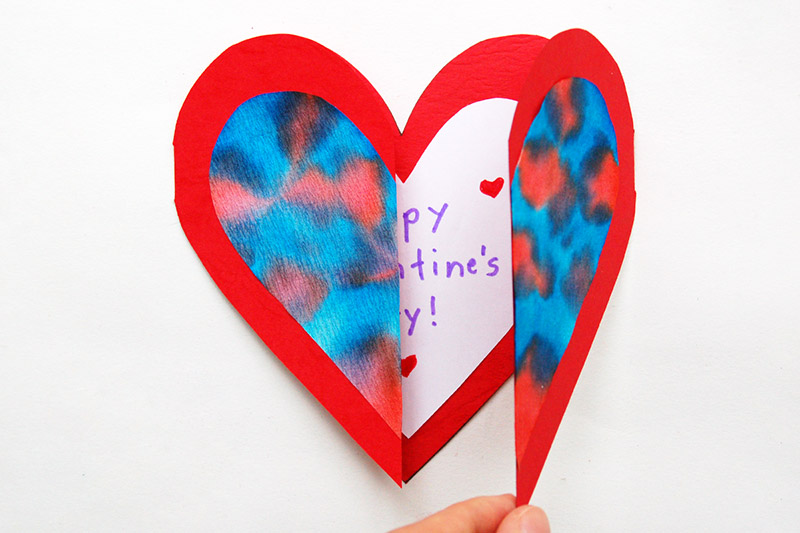
Write a greeting inside the card. If the paper is too dark to write on, you can cut a smaller heart from any light-colored paper and write your greeting on it. Glue this at the center of your greeting card.
8Put a sticker or tape.
Put a sticker or a short piece of tape to keep the front flaps closed.
Give the card to someone special for Valentine's Day. You can also make it for Mother's Day or any day you want to send a greeting to a loved one.
STEPS
Method 2 : Making a Heart Greeting Card Using a Template
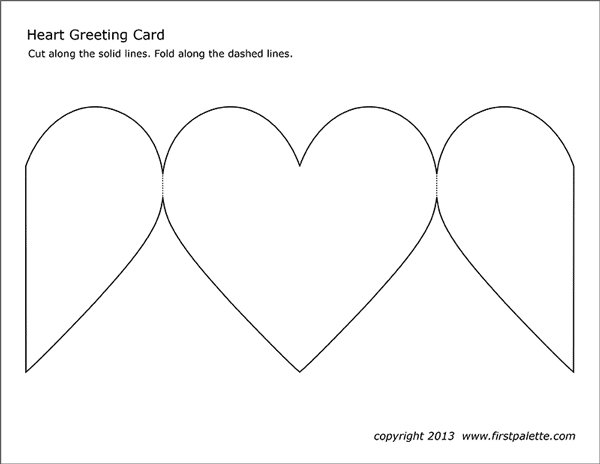
2Cut out.
Cut out the template.
3Fold the right flap.
Fold the right flap towards the front.
4Fold the left flap.
Fold the left flap towards the front as well.
5Decorate the front.
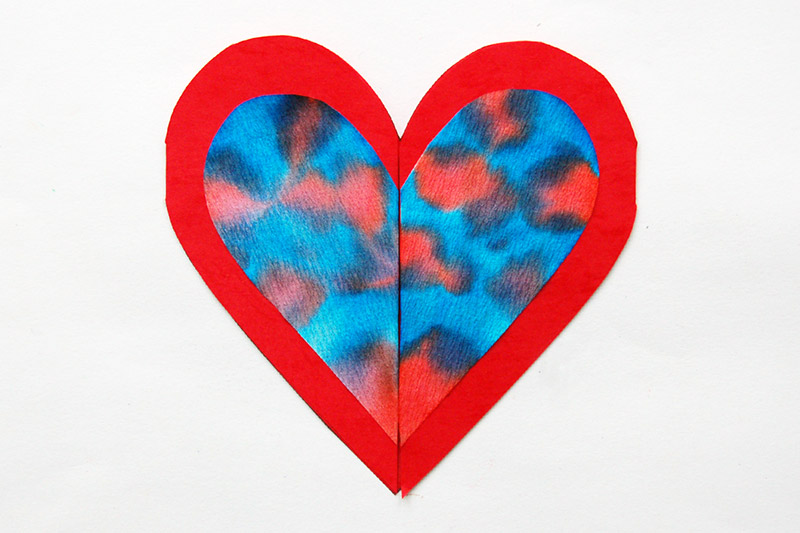
Decorate the front however you like. For this greeting card, I cut out a smaller heart shape from a piece of paper coffee filter and colored it with food coloring for a tie-dyed look. See how it's done in our Coffee Filter Flowers craft.
6Write a greeting.
Write a greeting inside the card. If the paper is too dark to write on, you can cut a smaller heart from any light-colored paper and write your greeting on it. Glue this at the center of your greeting card.
7Add a ribbon.
To keep the heart's front flaps closed, you can put a small sticker or tape to hold them together in the middle, as shown in Step 8 of the previous section.
Another idea is to keep the front flaps closed using a ribbon. First, punch a hole close to the straight edge of each flap. Next, weave a short length of ribbon or string through both holes.
Tie the ribbon into a bow for a charming heart greeting card.
Comments
