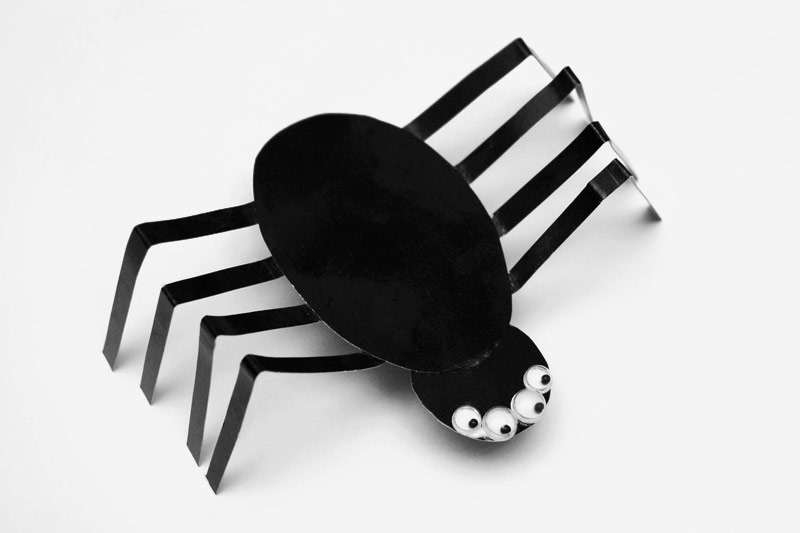
On black construction paper, draw and cut out a large oval for the spider's body and a smaller circle for the head.
2Create the spider's legs.
Cut out 4 thin strips from black construction paper. The length of the strips should be about 5 times the width of the spider's oval body.
3Glue the head to the body.
Glue the head onto the top of the oval body.
4Glue the legs.
Glue the four pairs of legs onto the body.
5Fold the legs at the middle.
Flip the spider over so that the legs' glued sections are hidden underneath.
Fold down each of the eight legs at the middle.
6Crease the start of each leg.
Crease the start of each leg up towards the body.
7Put the spider on a flat surface.
Place the spider on the table or any flat surface. It should be able to stand on its eight legs.
8Trim the legs as needed.
If your spider could not stand up well, one or more of its legs are shorter than the others. You will need to trim the ends of the legs so that all of them are touching the ground.
9Add eyes.
Finish up by gluing some wiggle eyes or by drawing eyes with crayons or colored pencils. You can glue more than two eyes—some spider species have as many as 8 eyes!
More Ideas
Attach a string.
Tape a string at the back of the spider to hang it from the ceiling or window frame. This makes a terrific Halloween decoration for your home or classroom and is also a fun craft to do while learning all about spiders or when reading spider-themed stories.
Make a clothespin spider.
Glue a wooden clothespin at the back of the spider. Once the glue dries, use the spider as a fun Halloween oranament by clipping the clothespin onto objects around the room.