Paper Visor
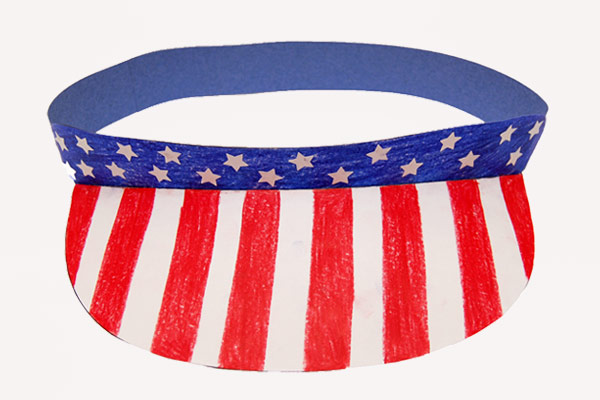
Make a fantastic paper visor using our printable visor template. These visors are quite easy to make and are great to wear for summer, parades, parties and fun events.
Featured Crafts
Supplies Needed
- A4 or Letter size cardstock
- Crayons, colored pencils or markers
- Scissors
- Glue stick
- Blunt plastic knife or spent ballpoint pen
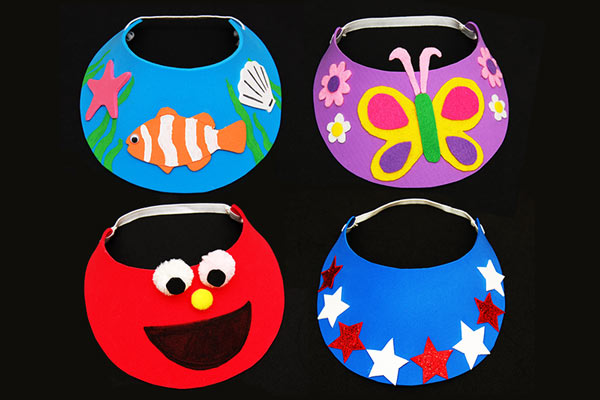
- Things to decorate your visor with: crayons, markers, stickers, paper cut-outs, glitter glue, wiggle eyes, rhinestones, ribbons, and other notions
STEPS
1Print out the template.
Print out the paper visor template on Letter or A4 size cardstock.
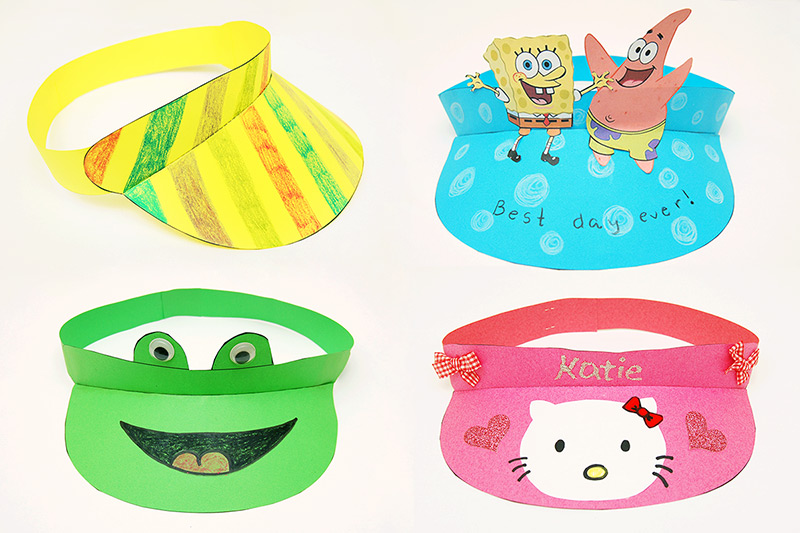
b.) Glue some cut-outs - glue stuff on the visor like paper cut-outs, put some neat stickers on it, or accent it with some colorful washi tape. However, do not put anything too thick as these may affect the visor's shape.
You can draw details on the cut-outs you put. The paper kitty I glued onto a pink visor needed some eyes, a nose, and some whiskers.
c.) Add details beyond the template outline - draw details sprouting from the top edge of the template such as a pair of eyes or a pair of small ears to make an animal-shaped visor.
If there isn't enough space for the detail you want (e.g. long bunny ears), you can always just draw them on a separate sheet of paper and later glue them onto the visor before Step 8.
4Score along the dotted lines.
Scoring creates a crease that makes folding the paper a lot easier. Find a scoring tool such as a blunt plastic knife, spent ballpoint pen, or a pencil.
Score along the dotted lines by running the scoring tool across both lines. Make the crease as deep as you can (without puncturing the paper) by applying pressure as you run the tool along the lines.
11Attach a strap.
Cut out a 1-inch wide strip of cardstock or construction paper, more or less about 12-15 inches long. Glue one end onto the side of the visor. To ensure a snug fit, try on the visor, trim the strap to the right length, then glue the other end onto the opposite side of the visor.
Let the glue dry before wearing your visor. Check out the section below for more decorating ideas.
