Polar Habitat Diorama
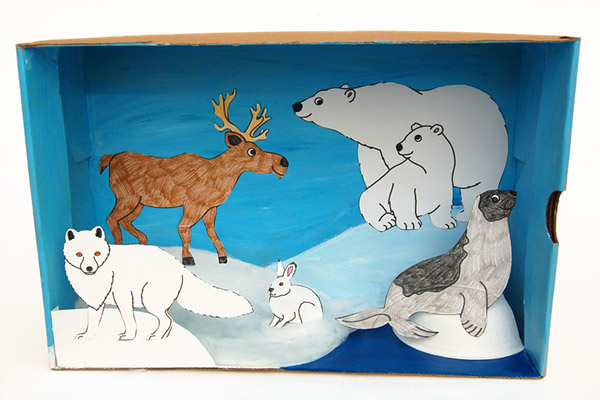
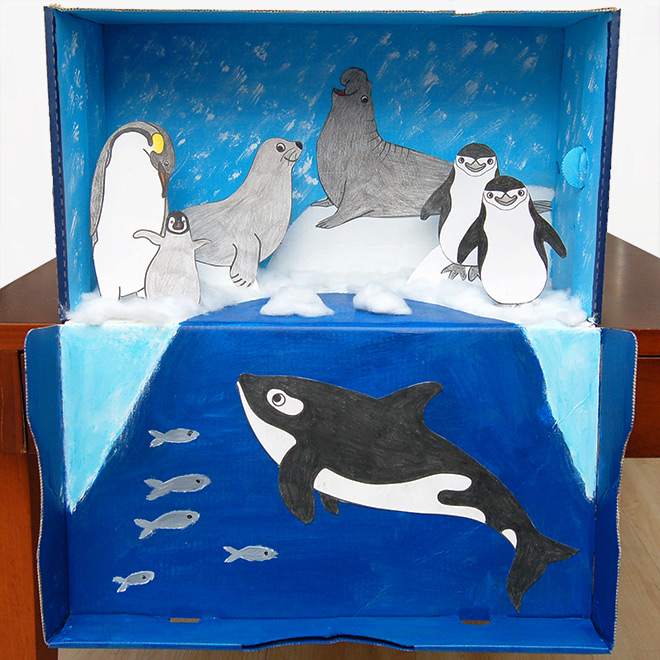
Craft a fun polar shoebox diorama while learning all about Arctic and Antarctic animals and their natural habitats.
Featured Crafts
Supplies Needed
- Shoebox or similar-sized box
- Construction paper or cardstock
- Acrylic paint
- Crayons or colored pencils
- Scissors
- White glue
- Paint brush
- Cotton (optional)
- Paper bowl, styrofoam chunks (optional)
STEPS
2Paint the box.
Use tempera or poster paint to paint the inside of your box. Paint the walls light blue to make your diorama's background. You can paint details like clouds or falling snow.
Paint the ground white for a snowy landscape. You can include a body of water to show how integral the sea is to polar life.
You can also paint the outside of the box, if you like. Use acrylic paint if your box has a glossy finish.
3Make some polar animals.
Draw the animals, cut them out from old magazines, or print out online images. You can also print out these polar animal sets on A4 or Letter size cardstock:
Color and cut out the animals.
5Create paper tabs.
Make side, bottom, or center tabs for the rest of the animals. These will allow the animals to be attached to the bottom and/or sides of your box. There are a number of ways to make the tabs:
a.) L-shaped tabs - make an L-shaped paper tab and glue this at the back of the animal. Position the tab at the bottom edge of the animal to make a bottom tab or at the sides for a side tab.
6Create blocks of ice.
Create blocks of ice or glaciers by gluing common household supplies like the ones below.
- Small paper bowls - cut into halves or quarters
- Styrofoam - cut styrofoam packaging into small chunks
- Paper cups - trim plain white paper cups to a height of 2 to 3 inches
- Egg carton - cut into individual sections then paint them white or light blue
- Small boxes - paint them white
- White air dry clay or salt dough - form them into mounds or chunks
9Check out more ideas.
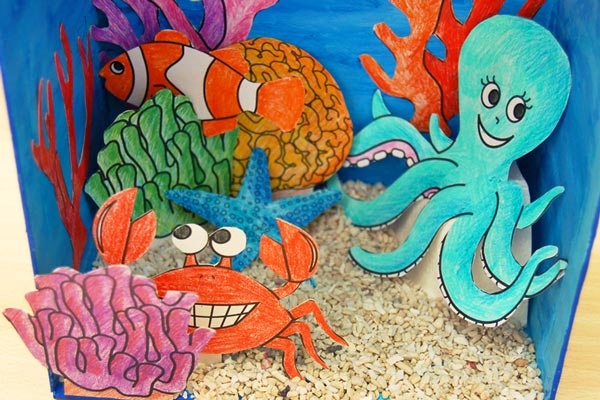
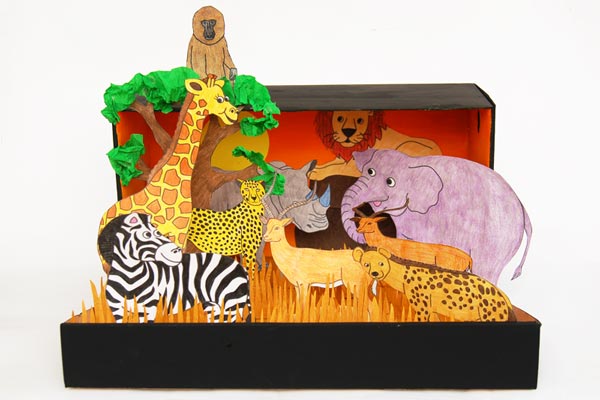
This completes the basic steps for making a polar habitat diorama. Scroll down for more crafting ideas and check out some of our other habitat diorama projects for inspiration:
