Art Window
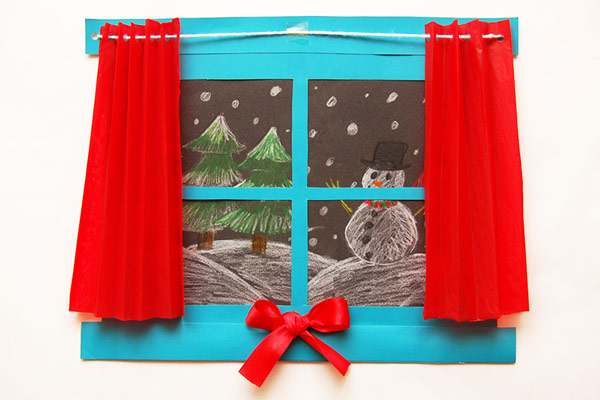
Craft a paper window that doubles as a frame for children's drawings and artworks - great for tackling themes on the weather or the changing seasons. It can also provide a venue for expressing feelings and creativity.

Featured Crafts
Supplies Needed
- Construction paper
- Glue
- Scissors
- Ruler
- Pencil
- Art tissue (optional)
- String (optional)
STEPS
4Glue the front and back panels.
Glue the front and back panels along the right, left, and bottom sides. The top must remain open to provide a slot for slipping in drawings and artworks.
Try to apply glue as close to the edges as possible to ensure that there is enough room for drawings to be easily put inside the window.
13Use the art window.
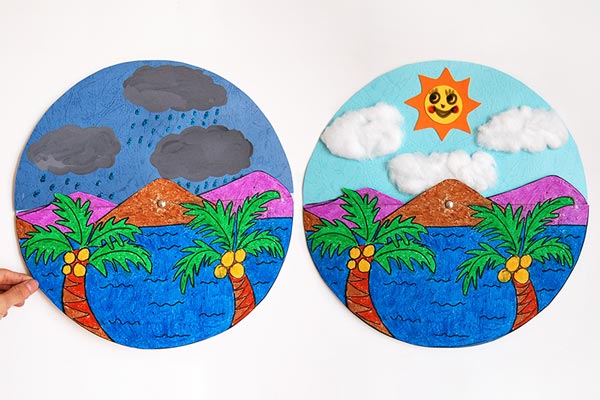
This window is a great way to showcase children's artworks—let them surprise you with what lies behind those curtains each time! As a learning aid, the art window can be a fun and creative way of tackling themes like the changing weather and seasons, places around the world, and habitats.
More Ideas
Make a window with shutters.
Instead of a window that looks out, make one that is outside looking in. Replace curtains with window shutters that can be opened and closed. Create the shutters by gluing a pair of identical rectangular pieces of construction paper onto the sides of the window.
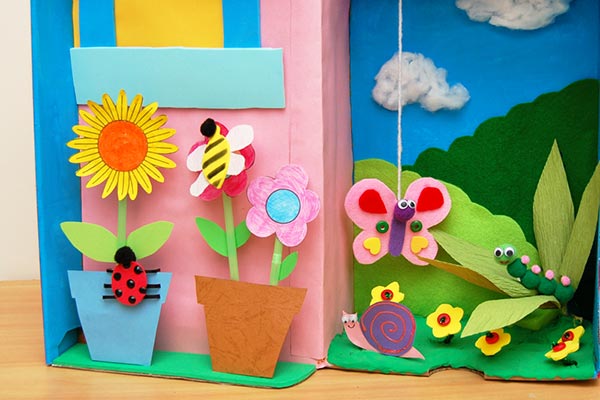
The window can also be given a more three-dimensional feel. For instance, you can make a flower box by cutting the bottom of a small box and gluing or stapling it onto the bottom of the window. Paint it with acrylic paint to blend it with the rest of the window.
Add a flower box.
Fill the flower box with green paper or art tissue torn into small bits. Add flowers by gluing flower-shaped beads, sequins, foam or fabric flowers. Though not shown in the photo, flower pots can be made out of bottle caps. Fill with clay and place foam or sequin flowers on top of pipe cleaner stems. Use cardboard or heavy construction paper as the window's back panel to help support the weight of the added materials.


