Craft Foam Christmas Stocking
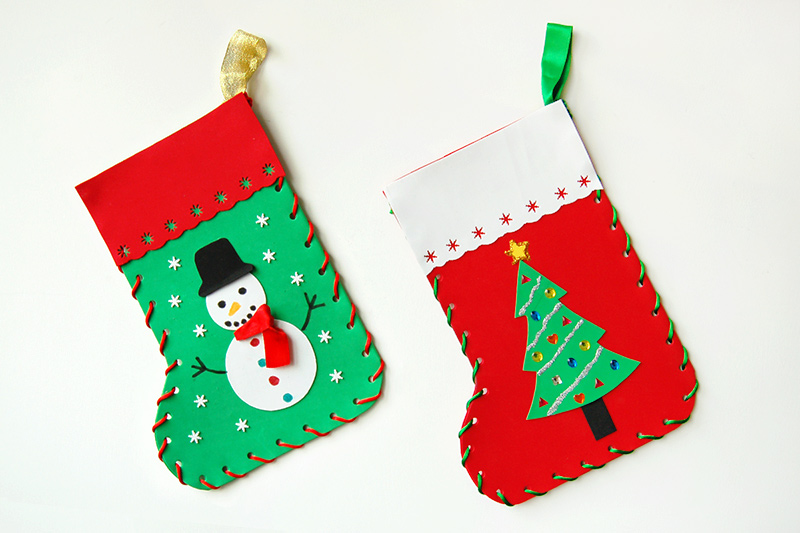
Make your own Christmas stocking out of craft foam and decorate it with lots of fun holiday accents.

Featured Crafts
Supplies Needed
- Craft foam sheet (12" x 18" or 9" x 12")
- String or ribbon
- Scissors
- White glue
- Hole punch
- Scissors
- Crayons
- Craft punches (optional)
STEPS
3Draw a stocking shape.
Draw a stocking shape on the foam sheet's folded edge—the stocking's vertical straight side should lie on the fold. We have this stocking template that you can print, cut out and use as a pattern to draw the stocking shape.
If you are working with two 9" x 12" craft foam sheets, draw a stocking shape on one sheet.
7Stitch through the holes.
Sew through the holes using either of these stitches:
a.) Overcast stitches - make diagonal stitches that wrap around the edges of the foam.
First, insert the free end of the string from the front of the first hole and pull all the way to the back. Next, loop the string over the edge and insert the end of the string from the front of the second hole, then pull all the way to the back. Repeat the process, working from one hole to the next.
b.) Running stitches - these are simple stitches that run in and out of the holes.
First, insert the free end of the string from the back of the first hole, then pull all the way through the front. Next, insert the string from the front of the second hole, then pull all the way to the back. This time, insert the string from the back of the third hole, then pulll all the way to the front. Repeat the process, just weaving the string in and out of the holes.
10Cut a rectangle from craft foam.
Cut a rectangular piece of craft foam to line the top section of your stocking. The rectangle should have the same width as the stocking and has a height of about 3 inches.
You can use a pair of wavy or scallop-edged scissors to cut a decorative edge along the rectangle's bottom side.
13Cut out small craft foam shapes.
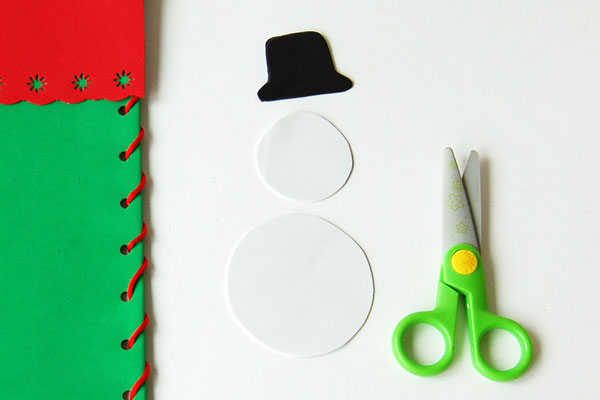
Think of a Christmas-themed design for your stocking. Draw and cut out the corresponding shapes on craft foam.
You can also print out and use these Christmas printables as patterns for drawing the shapes on craft foam.


