Pinwheel
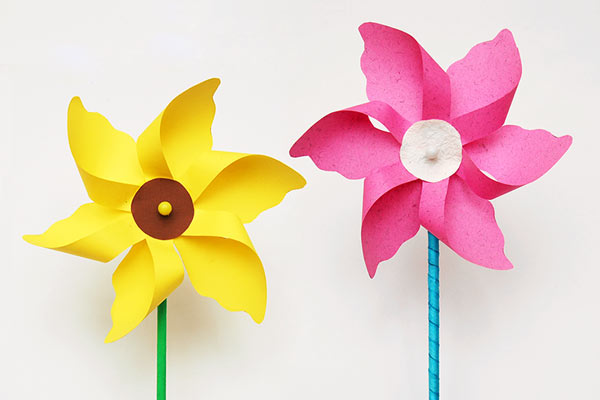
Make a classic paper pinwheel with just a few basic supplies—paper, a push pin, and a pencil. We have printable pinwheel templates to make crafting super easy.

Featured Crafts
Supplies Needed
- Paper or cardstock
- Scissors
- Glue stick
- Crayons or markers
- Pencil with eraser
- Push pin
- Bead or small button (optional)
STEPS
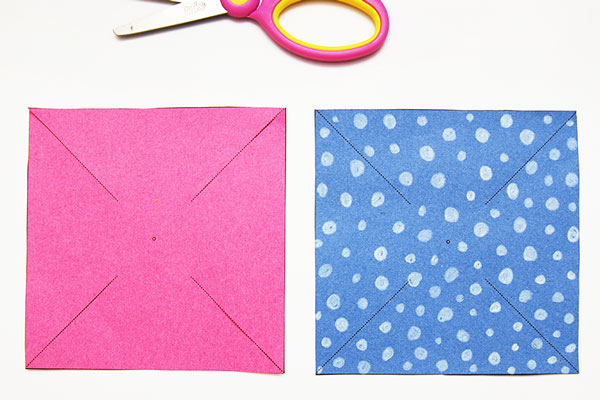
1Make a pair of squares.
Start out by cutting two identical squares from paper or cardstock. If you are keen on using templates, you can choose two from any of our pinwheel templates and print them out on Letter or A4 size paper or card stock.
6Bring one tip to the center.
After making the four slits, you will have 8 tips on your square—these are labeled with numbers on the photo.
Take one of the tips (Tip #1) and bring it to the center of the square without creasing the paper. You can glue the tip in place or just hold it with your hand as you do the next steps.
10Attach the pinwheel to a pencil.
Attach the pinwheel to a pencil by pushing the pin into the pencil's eraser. Don't push on too tight to allow the pinwheel to spin more freely.
As an option, you can put a bead or small button between the pinwheel and the eraser. This helps the pinwheel rotate better and prevents the pin's point from going through the other side of the eraser.
More Ideas
Use origami paper.
Use origami paper so that both sides of the paper have prints or color in it. This way you only need one paper square instead of the two that we recommended in the tutorial above.
Furthermore, you can recycle old calendars, magazine pages, greeting cards, thick gift wrap paper or other types of patterned paper to make a colorful pinwheel.
Make a Fourth of July pinwheel.
Make an easy 4th of July pinwheel by decorating one side with stripes and the other side with stars. You can print out striped and starry templates from our pinwheel templates.
