Sticker Stencil Easter Eggs
Create these lovely dyed or painted Easter eggs with shapes and patterns on them. The shapes and patterns are made by putting stickers or masking tape prior to painting or dyeing the eggs.

Featured Crafts
Supplies Needed
- Hard boiled eggs or blown-out eggs
- Acrylic paint or egg dye (food coloring, white vinegar)
- Stickers or masking tape/ electrical tape
- Paint brush
- Bowls or cups
STEPS
1Prepare the eggs.
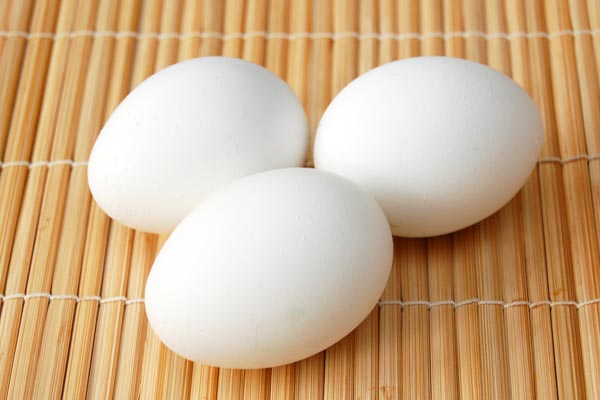
You can use either hard-boiled eggs or empty intact eggshells.
- Hard-boiled eggs - let the boiled eggs cool to room temperature.
- Empty intact eggshells - follow our instructions for blowing out eggs. Make sure the empty eggshells are clean and dry.
b.) Masking tape or electrical tape - masking tape is somewhat porous and some dye will soak through. Electrical tape works better if you want to dye the eggs.
Cut the tape into pieces or specific shapes. You can even cut them into strips to create striped patterns on the egg. Stick the pieces of tape on the surface of the egg, smoothing them down especially at the edges.
3Color the eggs.
The eggs can either be dyed or painted. If you want to do painted eggs, make sure to use blown-out eggs instead of hard boiled ones.
a.) Dye the eggs - in a bowl or cup, mix ¾ cup water, 1 tablespoon white vinegar, and about 10 drops of food coloring. Place the egg into the dye and let it sit for at least 5 minutes. The longer it stays in the dye, the deeper the color will be.
b.) Paint the eggs - make sure you use blown-out eggs instead of hard boiled eggs. If you use boiled eggs, the eggs will not be edible once you paint the shell.
Use acrylic paint to color the egg. You can use a single color to paint the entire egg or use as many colors of paint as you like. You can also paint small details like dots, lines and small shapes.
7Remove the egg.
Remove the egg from the dye and let it dry.
We noticed that allowing more time between dippings (or dyeing) lets the color set better. If you immediately did a second dipping like we did, the colors from the first dipping gets considerably washed off. The original deep magenta on this egg turned into a bright pink shade. The good thing though is that the little veins or lines that seeped through the masking tape were washed off as well.
8Try other ways to decorate eggs.
Check out more ways to dye and decorate eggs for Easter:


