Thankful Tree
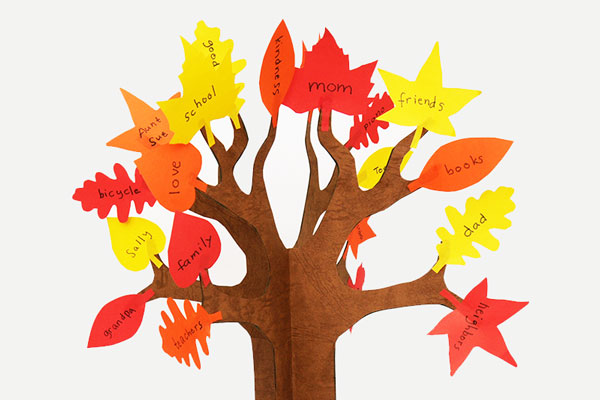
Teach kids the meaning of Thanksgiving by creating this paper gratitude tree. Use it as a table centerpiece or as a lovely Thanksgiving decoration.

Featured Crafts
Supplies Needed
- Brown cardstock (medium to heavyweight)
- Paper in fall colors (red, yellow, orange, brown)
- Scissors
- Markers
- Glue
STEPS
1Print out the tree template.
Choose from any of these large tree trunk templates. Print out four copies of your chosen template on brown A4 or Letter size cardstock.
4Score along the middle line.
This step is necessary if you printed out the trees on heavy cardstock. Scoring along the line makes folding easier. Find a scoring tool such as a blunt plastic knife or a spent ballpoint pen. Place the edge of a ruler on the tree's middle line. With the ruler to guide the tool, score along the entire line. Do not score too hard as this may tear the paper. Do this for all four tree trunks.
9Make the leaves.
You can create your own paper leaves or print out some leaves:
a.) Make your own leaves - fold a square or rectangular piece of paper in half. Cut a half-leaf shape along the folded edge. Unfold to reveal the leaf.
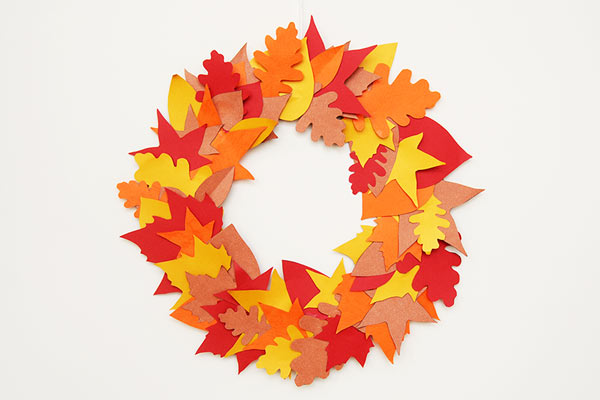
Make about 20 fall leaves from yellow, orange, red, and brown paper. You can go with the same shape for all the leaves or cut a variety of leaf shapes. Match the size of the leaves with that of your tree.
a.) Print out some leaves - print out any of these leaf sets on yellow, red, orange or brown paper. The smallest leaves in each set (first page of the oval-shaped leaves, heart-shaped leaves, star-shaped leaves, maples leaves, and oak leaves) are just about the right size for the large tree trunk. Cut out the leaves.
More Ideas
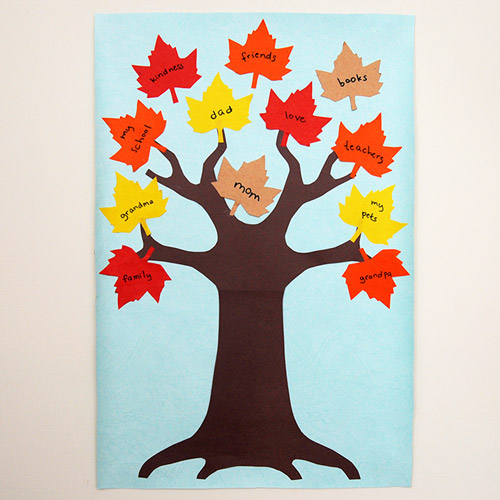
Make a Thanksgiving tree picture.
For an easier version, make a Thanksgiving tree picture instead of a three-dimensional tree. Print out any of the tree trunk templates on brown cardstock. Cut out the tree trunk and glue onto a large sheet of construction paper (e.g. 12" x 18"). Cut out paper leaves, write thankful thoughts on them and glue onto the tree branches.
