Tissue Paper Suncatchers
Use small pieces of colored tissue paper to create colorful stained glass-looking suncatchers. This tutorial shows two easy methods to make these lovely suncatchers.

Featured Crafts
Supplies Needed
Method 1
- Tissue paper in various colors
- Scissors
- White glue or liquid starch
- Paint brush
- Wax paper
- Double-sided tape
Method 2
- Tissue paper in various colors
- Scissors
- Clear contact paper
- Double-sided tape
STEPS
METHOD 1
Use liquid starch or slightly diluted white glue to stick the pieces of tissue together into a collage. Shapes are then cut out from the resulting collage.
1Cut small pieces of colored tissue.
Cut various colors of tissue paper into small pieces. If you are making themed suncatchers (e.g. Valentine's day, Easter, autumn, etc.), use colors of tissue paper that go with your theme. For this tutorial, I chose reds, pinks, and purples to make heart suncatchers for Valentine's day.
7Cut shapes.
Cut shapes out of the tissue paper collage. You can cut directly or draw the shapes onto the tissue prior to cutting.
If you need shape patterns or templates, you can check out these printables:
STEPS
METHOD 2
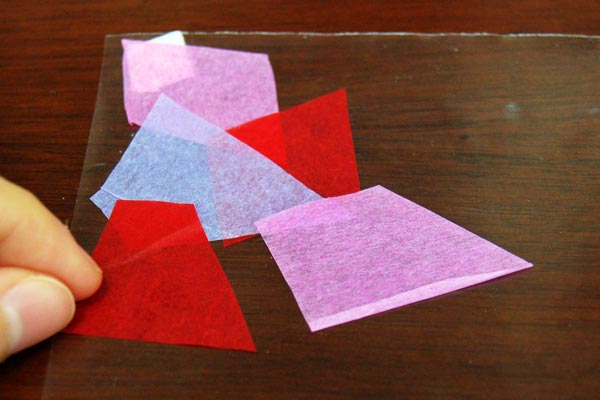
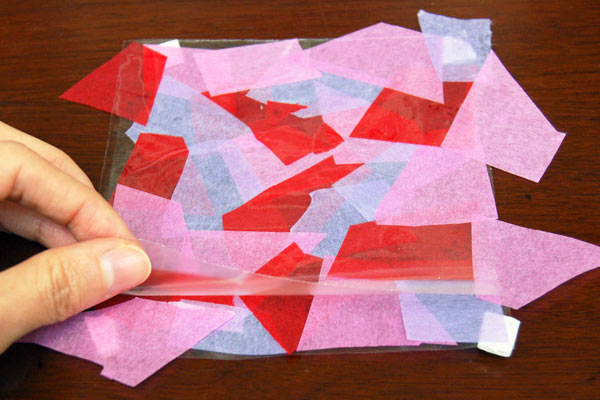
In Method 2, pieces of colored tissue are arranged in between two sheets of clear contact paper. The sheet is then cut into the desired suncatcher shapes.
7Cut shapes.
Cut out shapes. You can cut directly or draw the shapes onto the contact paper prior to cutting.
If you need shape patterns or templates, you can check out these printables:
More Ideas
Compose a design.
In Method 2, it is easy to create an ordered design. With a three-toned Easter egg in mind, I cut large sections of tissue paper in three colors and arranged them in rows on the contact paper. To decorate the Easter egg, I used craft punches to create small paper shapes and glued them onto the sections of tissue paper. Another piece of contact paper was placed on top to seal everything in.
An egg shape was cut out of the contact paper to come up with this colorful Easter egg suncatcher. Check out our Easter eggs page for printable egg templates.
